Fabric L O V E Banner
How to create a simple & cute fabric L O V E banner.
Equipment
- Sewing Machine Not Required
- Pair of Scissors
- Needle & Thread
- Iron
- Marking Utensil
- Pins
Materials
- Fabric Any color you'd like. The amount of fabric needed will depend on the size banner you wish to create. The size of fabric I used was 1 yard long and 0.5 yard wide.
- Poly-fil Stuffing The amount needed will depend on the size banner you wish to create.
- Thick Thread This is used for hanging the banner.
Instructions
- Gather all materials needed for the project.
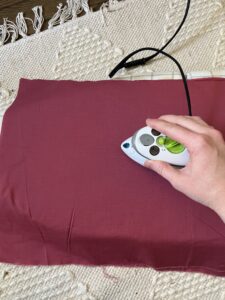
- Iron the fabric so that it is without wrinkles. Fold fabric in half so that the corners match.
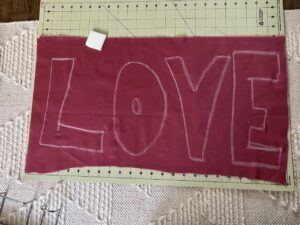
- Once folded, use a marking tool to draw your letters onto the fabric. You could also use a template that has been printed out and pinned on if you do not feel comfortable free-handing the letters. Make sure to leave enough space between each letter for seam allowance purposes.
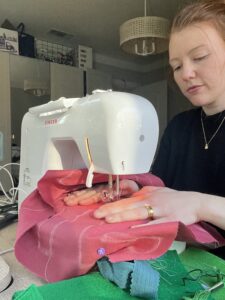
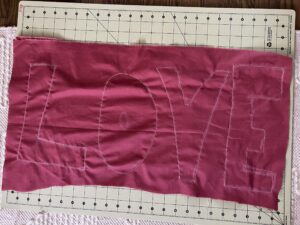
- Either use the sewing machine (very fast option) or your needle and thread to sew around your sketched letters. Make sure to leave a section without stitches. This section needs to be wide enough for the letter to be turned inside out. For the "O" do not sew any of the inner section.
- Once you have finished sewing, use scissors to cut out the letters. Leave at least 1/4in seam allowance.
- For the "O" cut small triangular slits around the circumference of the letter being careful to not cut through the stitches. For the other letters, cut a diagonal line at each corner being careful to not cut through the stitches.
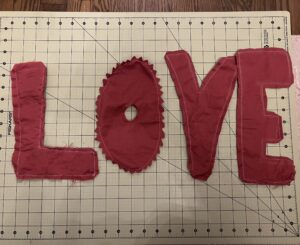
- Flip each letter right side out. Once finished, iron each letter.
- Fill each letter with Poly-fil and use pins to hold the openings closed making sure to fold the seam allowances inward.
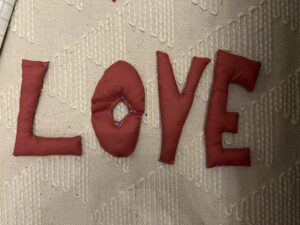
- With the seam allowance folded inward, use an invisible stitch to close the openings (see notes section for a link to instructions for hand stitching a ladder invisible stitch).
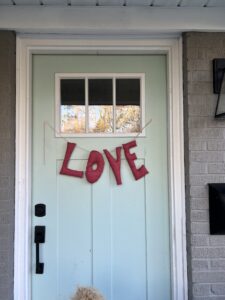
- Pick your banner thread and use a needle to thread each letter onto the thread.
- Now you are ready to display your love for all to see!
Notes
